
Installation
As the developers have published a version in PyPI, installing the Accelerator now is as simple as running pip! As we are mostly using Python3 and we are testing and developing most of our code locally before sending it to our processing server, we can simply install it like this:
| pip3 install –user accelerator |
Then, the accelerator tool becomes available with the `ax` command!
First steps
Once the accelerator is intalled, it’s time to configure it! The new version if fully documented in the manual, but as a starting point it should be enough to run `ax –help` and do the same for the small subset of commands provided. Then, to actually get started, we run `ax init` in the working directory where we wish to create our first project. Usually, we would configure the accelerator locally for every project, and therefore run all the comands from the corresponding directory. As that is not necessarily the case for every developer, one could also setup a global configuration file (e.g: /etc/accelerator.conf) and simply add `alias ax=ax –config /ect/accelerator.conf` to the .bashrc file (assuming bash as the default shell).
Running `ax init` will create a set workdirs and files in the directory where it is run. The most important there is `accelerator.conf`, which contains the basic configuration. There we can configure thinks like the amount of threads that we want to run or where we want to the results of our scripts to land. Luckily, the stardard one created by `ax init` contains sane defaults and comments that help understanding what the different options do.
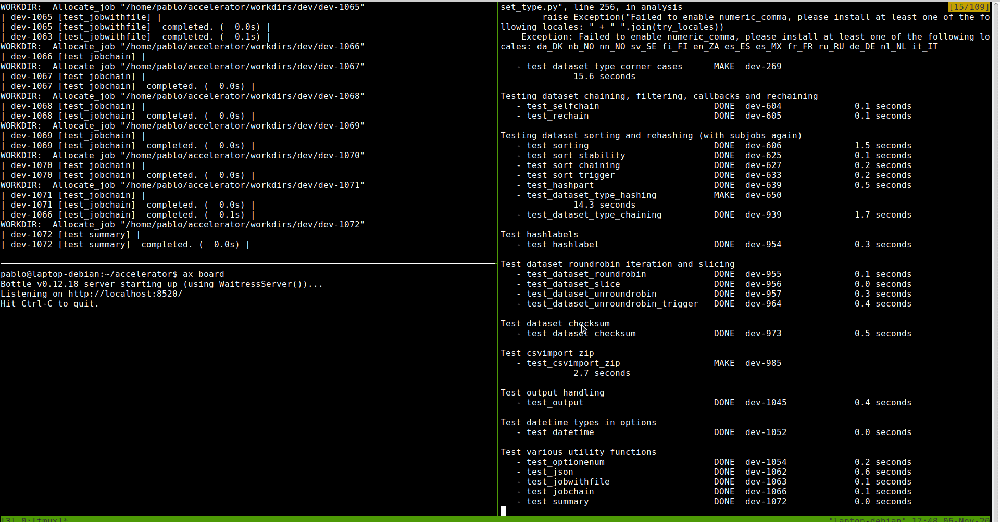
Finally, to start the server process, it is enough to run `ax server` from the project directory. Now the server is listening and to send some work, run `ax run “PIPELINE”` from another terminal. Starting running the tests can be a good start: `ax run tests`.
Further improvements
The new changes to the accelerator do not only come from the installation side, but also from the User Interface part. Now, it is possible to get detailed information about the tasks that have been run, their options, datasets, or results from the browser. For that, it is as simple as running `ax board` in the corresponding working directory or setting the `board listen` parameter in accelerator.conf. The board will start a server process that is by default listening on localhost:8520, which is of course customizable. There, we can check the status of the accelerator server process and search the results that were returned by our jobs, the options that were passed or which dataset was used. In addition, it’s even also possible to see the source code of the script that was imported to run a specific tasks. All this together, allows for a much better user experience and greatly helps debugging, specially when getting started using the tool.
Some additional extra improvements include adding a `grep-like` command to search for patterns in datasets and merging urd’s (the part that keeps track of tasks) functionality into a single tool, not requiring urd to be set up independently anymore or the ability to configure the python interpreter for every method.